Adding Particle Effects to DOM Elements with Canvas
Publikováno: 23.7.2018
Let’s take a look at how to make web pages more visually capable by combining the freedom of <canvas> with HTML elements. Specifically, we will be creating a basic HTML-to-particle effect, but the same technique could be used for many kinds of effects.
Before we begin, feel free to grab the source code in the repo.
Create the initial element
First, let’s create an HTML element to build on. I'm using a simple styled button, but it …
The post Adding Particle Effects to DOM Elements with Canvas appeared first on CSS-Tricks.
Let’s take a look at how to make web pages more visually capable by combining the freedom of <canvas> with HTML elements. Specifically, we will be creating a basic HTML-to-particle effect, but the same technique could be used for many kinds of effects.
Before we begin, feel free to grab the source code in the repo.
Create the initial element
First, let’s create an HTML element to build on. I'm using a simple styled button, but it really could be any HTML element.
See the Pen DOM to Canvas #1 by Zach Saucier (@Zeaklous) on CodePen.
A modern browser like Chrome, Firefox, or Edge is required to view these demos.
But how can we get a canvas to "see" this element so that we can manipulate each pixel using canvas? In order to make that to happen, we will essentially need to take a snapshot of our HTML element — like a "print screen" but only for the particular element (the button) that we're looking to manipulate in canvas.
Create a canvas version of our element
Even though there's no native way for browsers to do this and allow us to manipulate it in JavaScript, there is a very handy library called html2canvas that can help us. All we have to do is load the library, then call html2canvas(element) and it will return a Promise along with a canvas version of our element! Crazy awesome.
See the Pen DOM to Canvas #2 by Zach Saucier (@Zeaklous) on CodePen.
Here we have an HTML version and a canvas version of our button next to each other. We can use the canvas version as our "screenshot" and as a source for information, such as the color of a pixel at a particular location.
Getting data from our canvas
To do that, let's create a new function to get the pixel information at a particular location. We also don't need to display the canvas that we'd get our color data from, because we want to show the original HTML element instead.
function getColorAtPoint(e) {
  // Get the coordinate of the click
  let x = e.offsetX;
  let y = e.offsetY;

  // Get the color data of the canvas version of our element at that location
  let rgbaColorArr = ctx.getImageData(x, y, 1, 1).data;

  // Do something with rgbaColorArr
}
See the Pen DOM to Canvas #3 by Zach Saucier (@Zeaklous) on CodePen.
Now we need to create a canvas particle using that information.
Create a canvas for displaying particles
We don’t really have a canvas to put the particles on yet because we want to reserve the canvas that we got from html2canvas for accessing color information only. So let’s create another:
var particleCanvas, particleCtx;
function createParticleCanvas() {
  // Create our canvas
  particleCanvas = document.createElement("canvas");
  particleCtx = particleCanvas.getContext("2d");

  // Size our canvas
  particleCanvas.width = window.innerWidth;
  particleCanvas.height = window.innerHeight;

  // Position out canvas
  particleCanvas.style.position = "absolute";
  particleCanvas.style.top = "0";
  particleCanvas.style.left = "0";

  // Make sure it's on top of other elements
  particleCanvas.style.zIndex = "1001";

  // Make sure other elements under it are clickable
  particleCanvas.style.pointerEvents = "none";

  // Add our canvas to the page
  document.body.appendChild(particleCanvas);
}
Get coordinate data
We also need to continue to get the color data from our local coordinate — not only the top and left of our button, but also the position in global coordinates (in relation to the entire web page) in order to create the particle in the right place on the canvas.
We can do so using the following:
btn.addEventListener("click", e => {
  // Get our color data like before
  let localX = e.offsetX;
  let localY = e.offsetY;
  let rgbaColorArr = ctx.getImageData(localX, localY, 1, 1).data;

  // Get the button's positioning in terms of the window
  let bcr = btn.getBoundingClientRect();
  let globalX = bcr.left + localX;
  let globalY = bcr.top + localY;

  // Create a particle using the color we obtained at the window location
  // that we calculated
  createParticleAtPoint(globalX, globalY, rgbaColorArr);
});
Create a particle prototype
And let’s also create a basic particle that has a draw function using variables:
/* An "exploding" particle effect that uses circles */
var ExplodingParticle = function() {
  // Set how long we want our particle to animate for
  this.animationDuration = 1000; // in ms

  // Set the speed for our particle
  this.speed = {
    x: -5 + Math.random() * 10,
    y: -5 + Math.random() * 10
  };

  // Size our particle
  this.radius = 5 + Math.random() * 5;

  // Set a max time to live for our particle
  this.life = 30 + Math.random() * 10;
  this.remainingLife = this.life;

  // This function will be called by our animation logic later on
  this.draw = ctx => {
    let p = this;

    if(this.remainingLife > 0
    && this.radius > 0) {
      // Draw a circle at the current location
      ctx.beginPath();
      ctx.arc(p.startX, p.startY, p.radius, 0, Math.PI * 2);
      ctx.fillStyle = "rgba(" + this.rgbArray[0] + ',' + this.rgbArray[1] + ',' + this.rgbArray[2] + ", 1)";
      ctx.fill();

      // Update the particle's location and life
      p.remainingLife--;
      p.radius -= 0.25;
      p.startX += p.speed.x;
      p.startY += p.speed.y;
    }
  }
}
Create a particle factory
We also need a function to create these particles based on some coordinates and color information, making sure that we add them to the array of particles that get created:
var particles = [];
function createParticleAtPoint(x, y, colorData) {
  let particle = new ExplodingParticle();
  particle.rgbArray = colorData;
  particle.startX = x;
  particle.startY = y;
  particle.startTime = Date.now();

  particles.push(particle);
}
Add animation logic
We also need a way to animate any particles that are created.
function update() {
  // Clear out the old particles
  if(typeof particleCtx !== "undefined") {
    particleCtx.clearRect(0, 0, window.innerWidth, window.innerHeight);
  }

  // Draw all of our particles in their new location
  for(let i = 0; i < particles.length; i++) {
    particles[i].draw(particleCtx);

    // Simple way to clean up if the last particle is done animating
    if(i === particles.length - 1) {
      let percent = (Date.now() - particles[i].startTime) / particles.animationDuration;

      if(percent > 1) {
        particles = [];
      }
    }
  }

  // Animate performantly
  window.requestAnimationFrame(update);
}

window.requestAnimationFrame(update);
Putting those pieces together, we can now create particles based on our HTML element when we click it!
See the Pen DOM to Canvas #4 by Zach Saucier (@Zeaklous) on CodePen.

Neat!
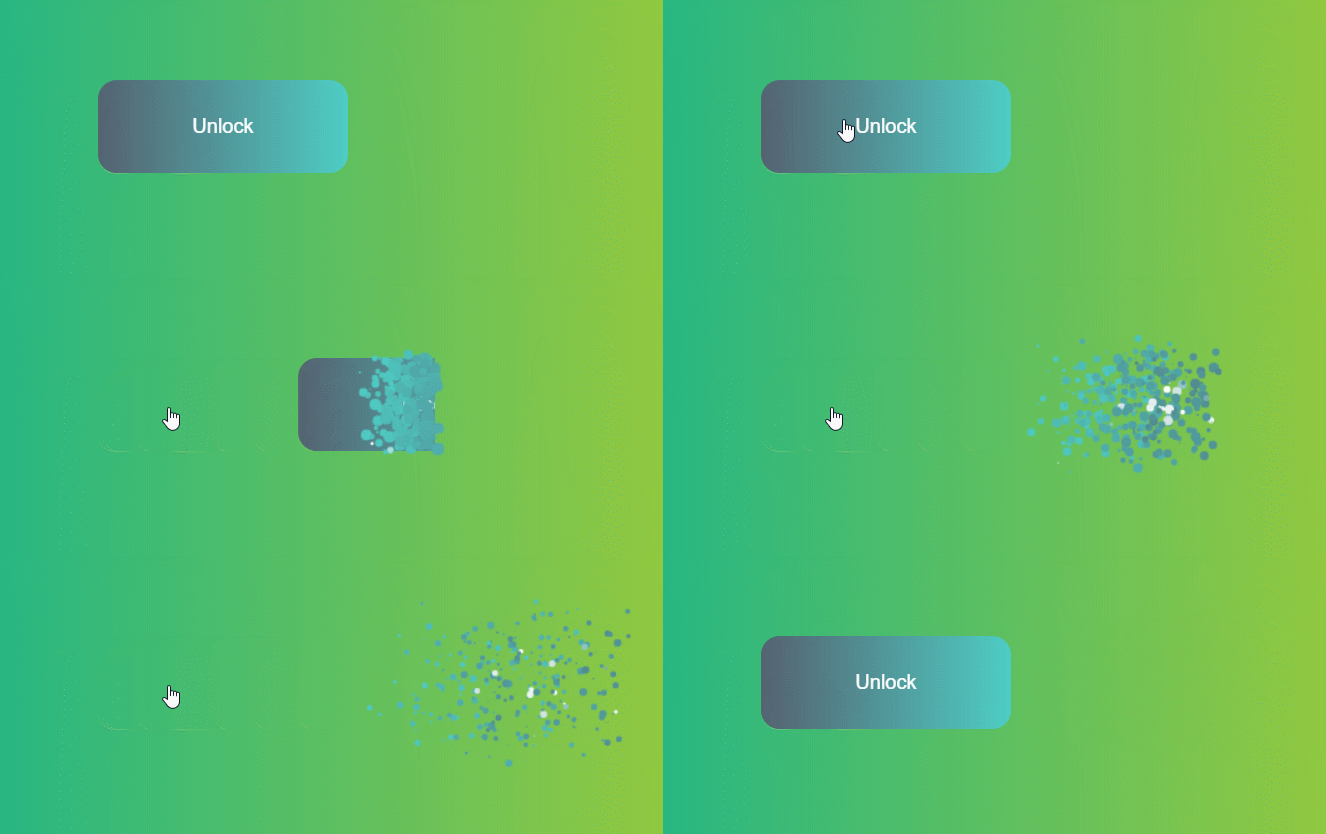
If we want to “explode" the whole button on click instead of just one pixel, we only need to amend our click function:
let reductionFactor = 17;
btn.addEventListener("click", e => {
  // Get the color data for our button
  let width = btn.offsetWidth;
  let height = btn.offsetHeight
  let colorData = ctx.getImageData(0, 0, width, height).data;

  // Keep track of how many times we've iterated (in order to reduce
  // the total number of particles create)
  let count = 0;

  // Go through every location of our button and create a particle
  for(let localX = 0; localX < width; localX++) {
    for(let localY = 0; localY < height; localY++) {
      if(count % reductionFactor === 0) {
        let index = (localY * width + localX) * 4;
        let rgbaColorArr = colorData.slice(index, index + 4);

        let bcr = btn.getBoundingClientRect();
        let globalX = bcr.left + localX;
        let globalY = bcr.top + localY;

        createParticleAtPoint(globalX, globalY, rgbaColorArr);
      }
      count++;
    }
  }
});
See the Pen DOM to Canvas #5 by Zach Saucier (@Zeaklous) on CodePen.

Hopefully the web now feels less restrictive than it did at the start of this article now that we know we can use additions (like canvas) to exercise more creative freedom.
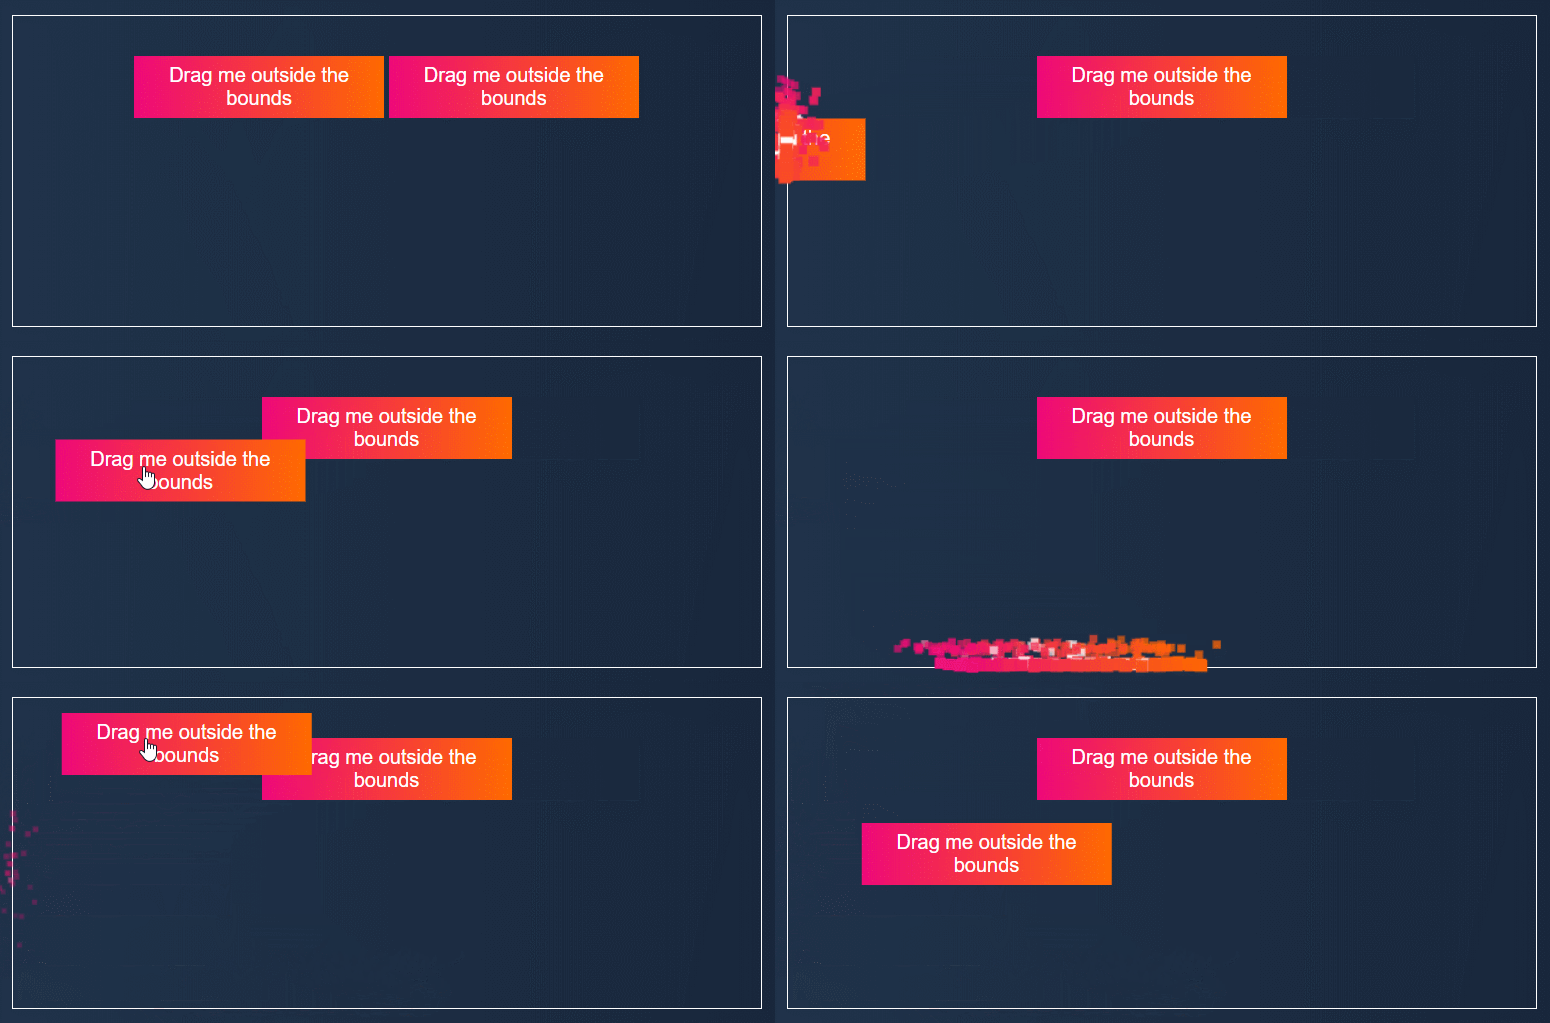
We can get even more creative by using edge detection to tell if our element is outside of the bounds of a container (i.e. hidden from view) and create particles when our element goes outside of those bounds.
A whole article could be written on this process, because positioning of elements in a web browser is complex, but I’ve created a small plugin called Disintegrate that includes handling for this sort of thing.
Disintegrate: A plugin to create this effect for for you
Disintegrate is open source and handles a lot of the messiness that getting production-ready code for this technique requires. It also allows for multiple elements to apply this effect on the same page, specified containers to be used, a way to ignore specified colors, if needed, and events for the different important moments in the process.
Using Disintegrate, we just have to declare data-dis-type="contained" on our button and it will make it so that when our element goes outside its container's bounds, particles will be created! See the demo for yourself.

A different type of effect we can make using Disintegrate is where the container is directly surrounding our element. This allows for self-contained particle animations like the button effect we made earlier. By animating the container and our main element itself, we can create particles in even more interesting ways.

However, this approach does have its limitations (and so does Disintegrate). For example, it will only work back to IE11 due to the lack of pointer-events support before that (provided Disintegrate is compiled to ES5). Disintegrate also doesn't support every DOM element we can imagine due to the limitations of html2canvas. The ones that I found most restricting are the incomplete CSS transform support and lack of clip-path support.
To install Disintegrate, you can use npm install disintegrate if you use npm. Or you can manually include html2canvas.js and disintegrate.js before calling disintegrate.init().
Disintegrate is very new and could use some improvements. If you'd like to contribute, both Disintegrate and html2canvas are open source and suggestions are welcome!
How do you think this functionality could be used in your projects? How do you see this approach extending what is possible on the web? Let me know in the comments.
The post Adding Particle Effects to DOM Elements with Canvas appeared first on CSS-Tricks.