Fast Static Sites with Netlify and AnyMod
Publikováno: 12.9.2019
In about 10 minutes, we'll set up a workflow that makes static sites dead simple.
You'll get the following:
- Free https
- Free or cheap hosting
- Build sites quickly
- Edit with live reload
- Edit when you’ve forgotten everything in 6 months
Start: signups
We can get all this by using Netlify (really simple static hosting) along with AnyMod (100s of website sections).
Set up deploy pipeline
We’ll create a basic HTML file, track it with GitHub, and … Read article
The post Fast Static Sites with Netlify and AnyMod appeared first on CSS-Tricks.
In about 10 minutes, we'll set up a workflow that makes static sites dead simple.
You'll get the following:
- Free https
- Free or cheap hosting
- Build sites quickly
- Edit with live reload
- Edit when you’ve forgotten everything in 6 months
Start: signups
We can get all this by using Netlify (really simple static hosting) along with AnyMod (100s of website sections).
Set up deploy pipeline
We’ll create a basic HTML file, track it with GitHub, and then auto-deploy with Netlify.
(If you prefer a manual setup, you can skip this step and instead deploy to Netlify by dragging/dropping into the Netlify folder.)
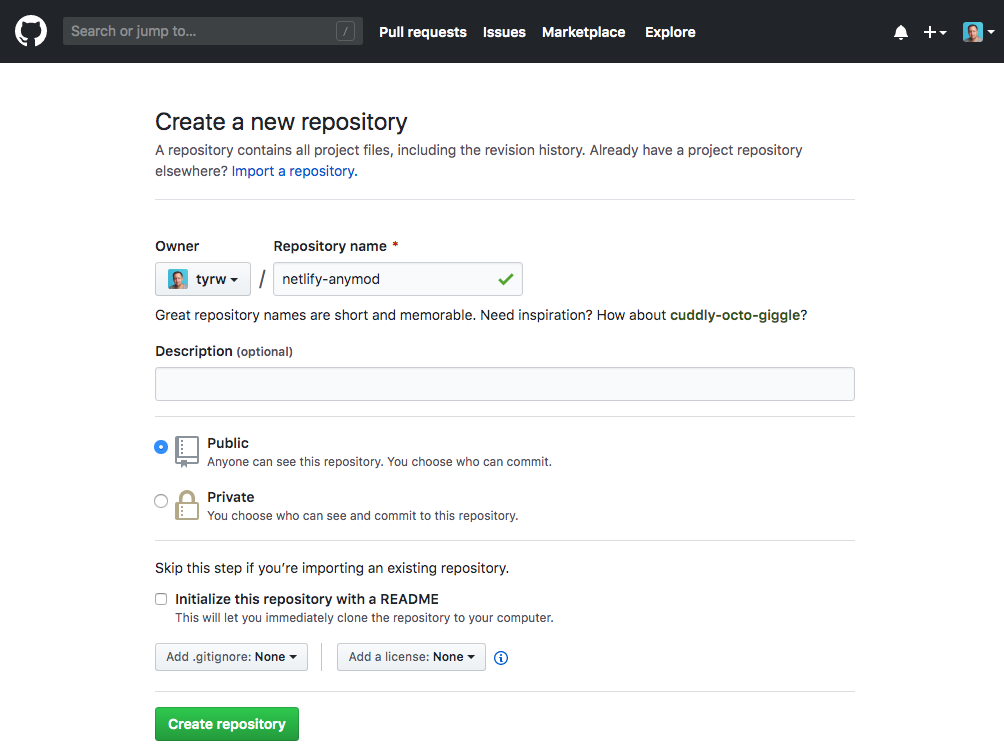
1. Create an empty repo in GitHub.
Go to https://github.com/new and Name it netlify-anymod:
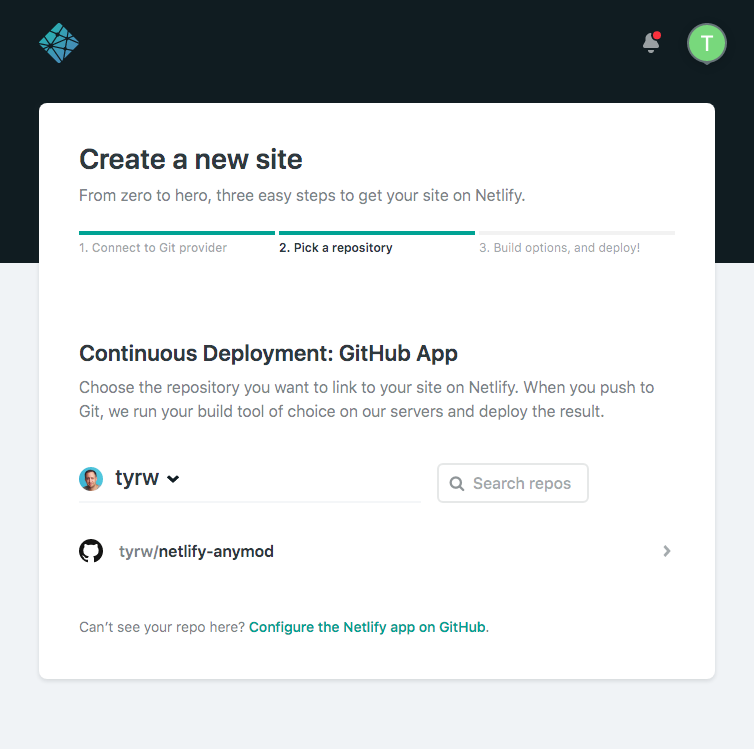
2. Connect Netlify to your repo.
You will do this from the Netlify start screen.
3. Create a folder on your computer and add a file named index.html.
You can run the following in your terminal to do this:
mkdir netlify-anymod
cd netlify-anymod
touch index.html
Now edit the index.html file to add some basic HTML structure:
<!DOCTYPE html>
<html lang="en">
  <head>
    <meta charset="UTF-8" />
    <meta name="viewport" content="width=device-width, initial-scale=1.0" />
    <meta http-equiv="X-UA-Compatible" content="ie=edge" />
    <title>Netlify & AnyMod | CSS Tricks</title>
  </head>

  <body>
    Hello, World!
  </body>
</html>
4. Track it with git and deploy to GitHub
git init
git remote add origin https://github.com/tyrw/netlify-anymod.git
git add -A
git commit -m "Initial commit"
git push --set-upstream origin master
Note: use your own repo URL for git remote add origin).
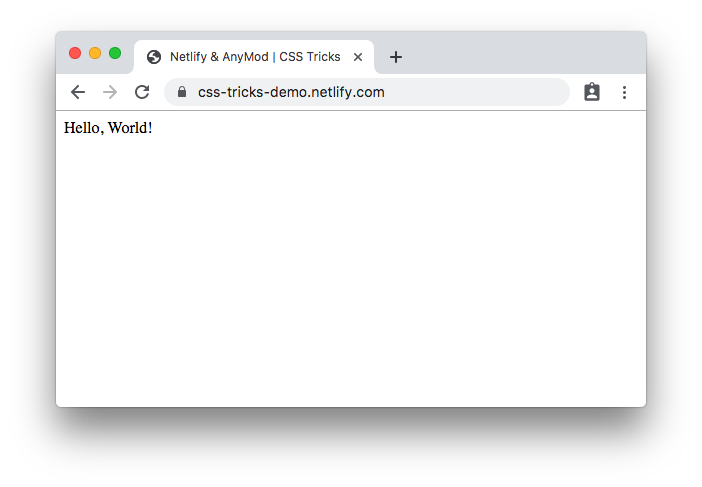
Check your Netlify URL after a minute or so, and your site should be live!
Add section "mods"
Now that we have our deploy setup, we can build the page itself. We'll do this with ready-to-use modules ("mods") on AnyMod.
There are a lot to choose from, but we'll use mods from the Editorial theme:
Navigation

Intro / Hero unit

Form
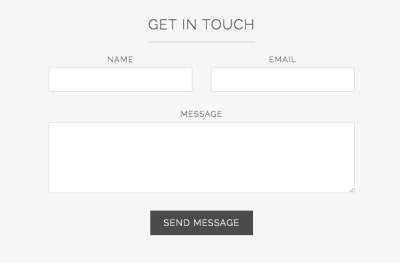
Image gallery
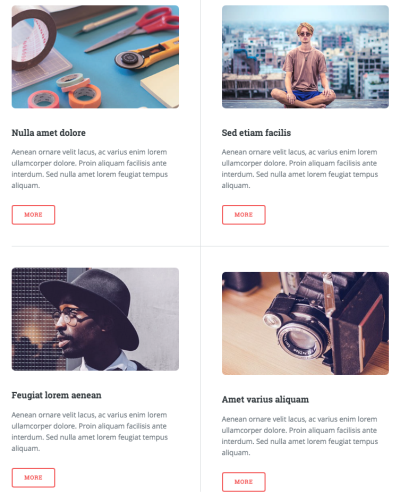
Clone and add mods
Add these mods by clicking "Clone" for each one and then scroll down and copy/paste the installation code into the index.html file. Also copy and paste your project script at the top.
Your index.html should now look something like this:
<!DOCTYPE html>
<html lang="en">
  <head>
    <meta charset="UTF-8" />
    <meta name="viewport" content="width=device-width, initial-scale=1.0" />
    <meta http-equiv="X-UA-Compatible" content="ie=edge" />
    <title>Netlify & AnyMod | CSS Tricks</title>

    <!-- AnyMod -->
    <script id="AnyMod-script">
      (function (m,o,d,u,l,a,r,i,z,e) {
        u[m]={Project:o,rq:[],Opts:r,ready:function(j){u[m].rq.push(j)}};function j(s){return encodeURIComponent(btoa(s))};z=l.getElementById(m+'-'+a);r=u.location;
        e=[d+'/page/'+o+'/'+j(r.pathname)+'/'+j(r.host)+'?t='+Date.now(),d];e.map(function(w){i=l.createElement(a);i.defer=1;i.src=w;z.parentNode.insertBefore(i,z);});
      })('AnyMod','82PEPN','https://cdn.anymod.com/v2',window,document,'script',{ toolkit: true, tips: true, priority: 3 });
    </script>
    <!-- /AnyMod -->
  </head>
  <body>
    <!-- Professional side nav -->
    <div id="anymod-mlrnbm"></div>

    <!-- Intro section -->
    <div id="anymod-ormard"></div>

    <!-- Contact form -->
    <div id="anymod-ralmam"></div>

    <!-- Card section -->
    <div id="anymod-balmaa"></div>
  </body>
</html>
And the page is ready to go.
Now save and push to GitHub to deploy the site:
git add -A
git commit -m "Added mods"
git push origin
Wait a minute, and your site should be ready to use. Here is the demo page.
Editing content
Now you can live edit the content and code for each mod. When viewing your own page (while also logged into AnyMod), you see a pencil on the right side:
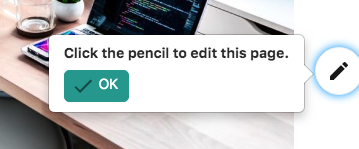
Click the pencil and choose a mod. Now try making some edits to the content (or code) and notice that it updates on the page automatically in real time.
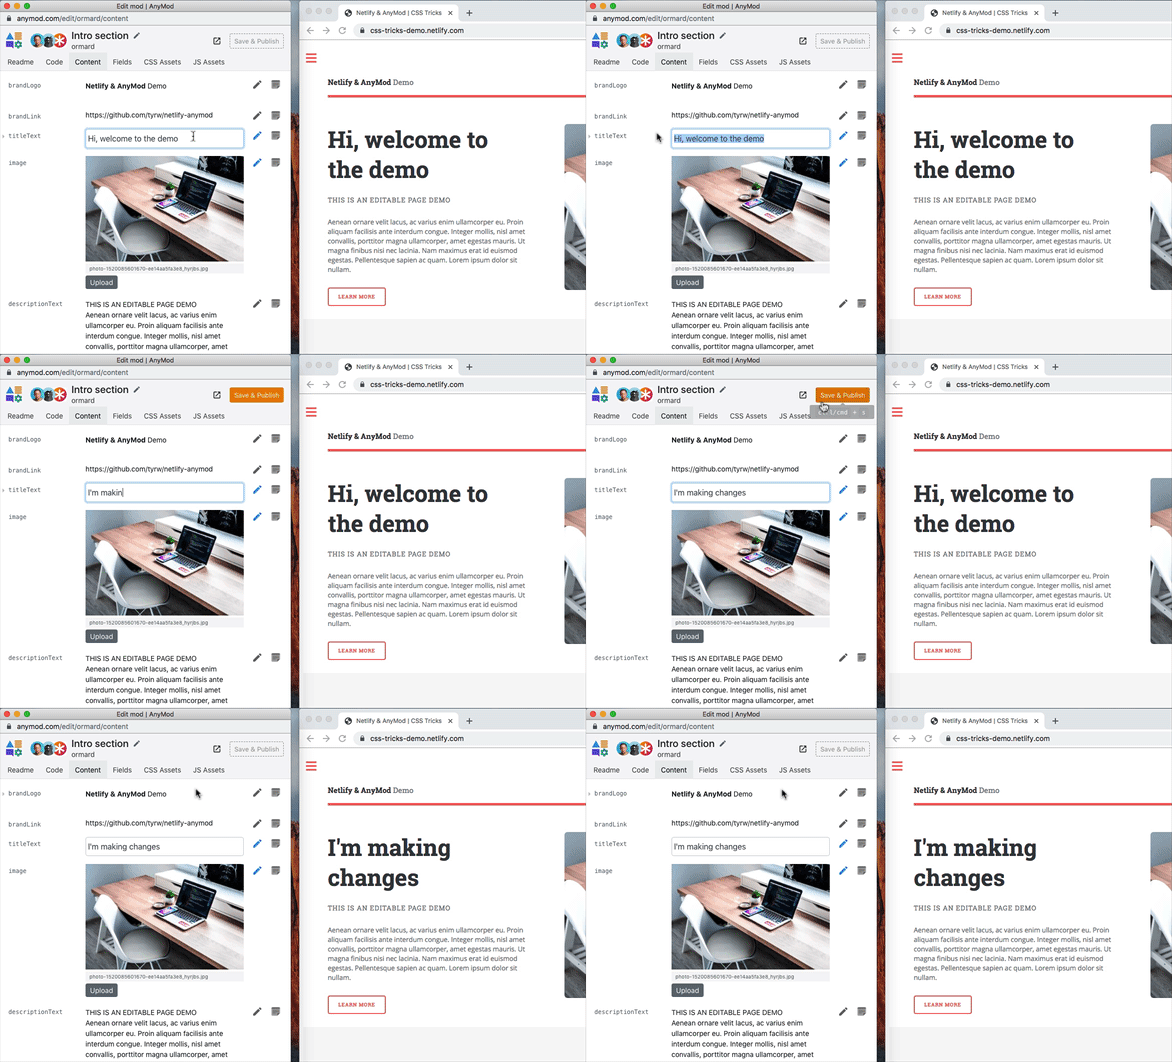
You can use this method to make edits now or in 6 months when you've forgotten how the project is set up.
Form
The form also works automatically. Try submitting a message on your own page; the response will be emailed to you right away.
Conclusion
You now have a great way to build fast, reliable, secure static sites.
Remember: with great power comes great responsibility.
The post Fast Static Sites with Netlify and AnyMod appeared first on CSS-Tricks.