Netlify Functions for Sending Emails
Publikováno: 23.4.2019
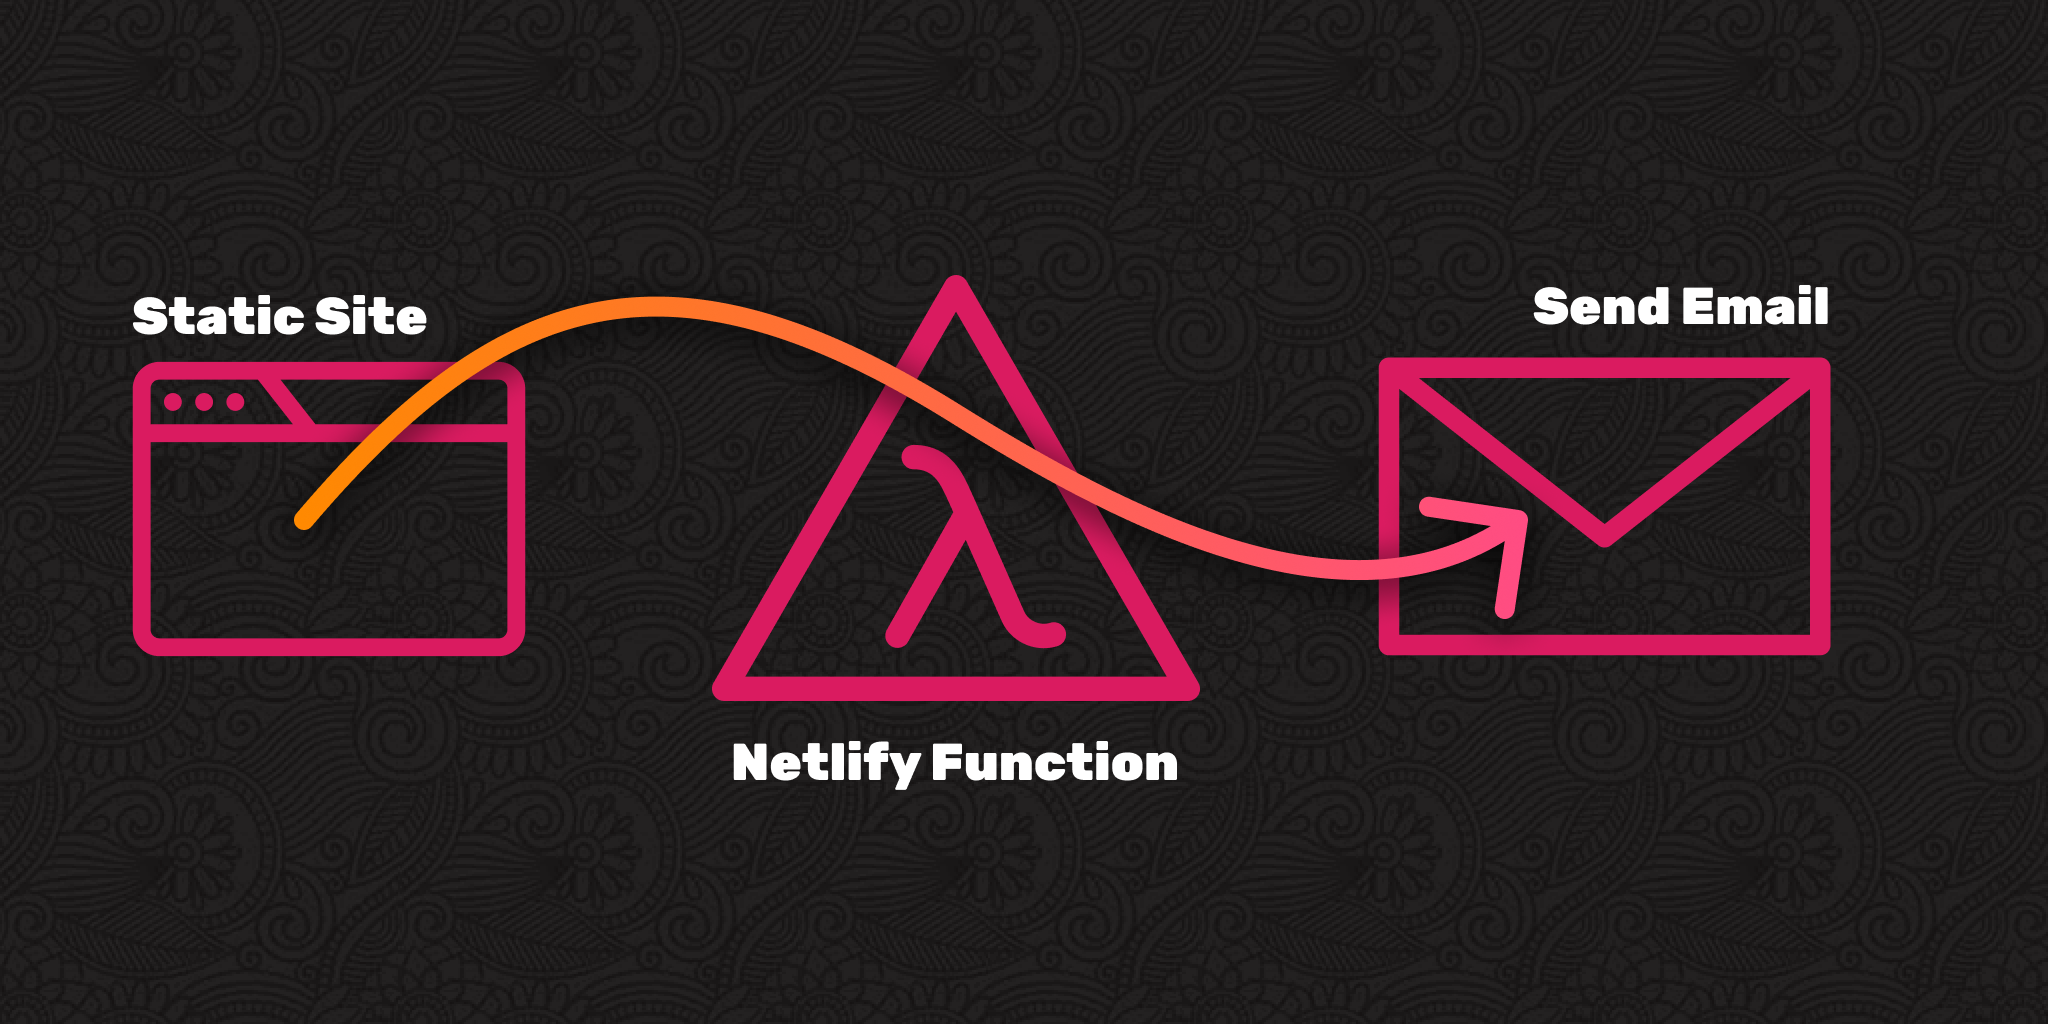
Let's say you're rocking a JAMstack-style site (no server-side languages in use), but you want to do something rather dynamic like send an email. Not a problem! That's the whole point of JAMstack. It's not just static hosting. It's that plus doing anything else you wanna do through JavaScript and APIs.
Here's the setup: You need a service to help you send the email. Let's just pick Sparkpost out of a hat. There are a number of them, … Read article
The post Netlify Functions for Sending Emails appeared first on CSS-Tricks.
Let's say you're rocking a JAMstack-style site (no server-side languages in use), but you want to do something rather dynamic like send an email. Not a problem! That's the whole point of JAMstack. It's not just static hosting. It's that plus doing anything else you wanna do through JavaScript and APIs.
Here's the setup: You need a service to help you send the email. Let's just pick Sparkpost out of a hat. There are a number of them, and I'll leave comparing their features and pricing to you, as we're doing something extremely basic and low-volume here. To send an email with Sparkpost, you hit their API with your API key, provide information about the email you want to send, and Sparkpost sends it.
So, you'll need to run a little server-side code to protect your API key during the API request. Where can you run that code? A Lambda is perfect for that (aka a serverless function or cloud function). There are lots of services to help you run these, but none are easier than Netlify, where you might be hosting your site anyway.

Get Sparkpost ready
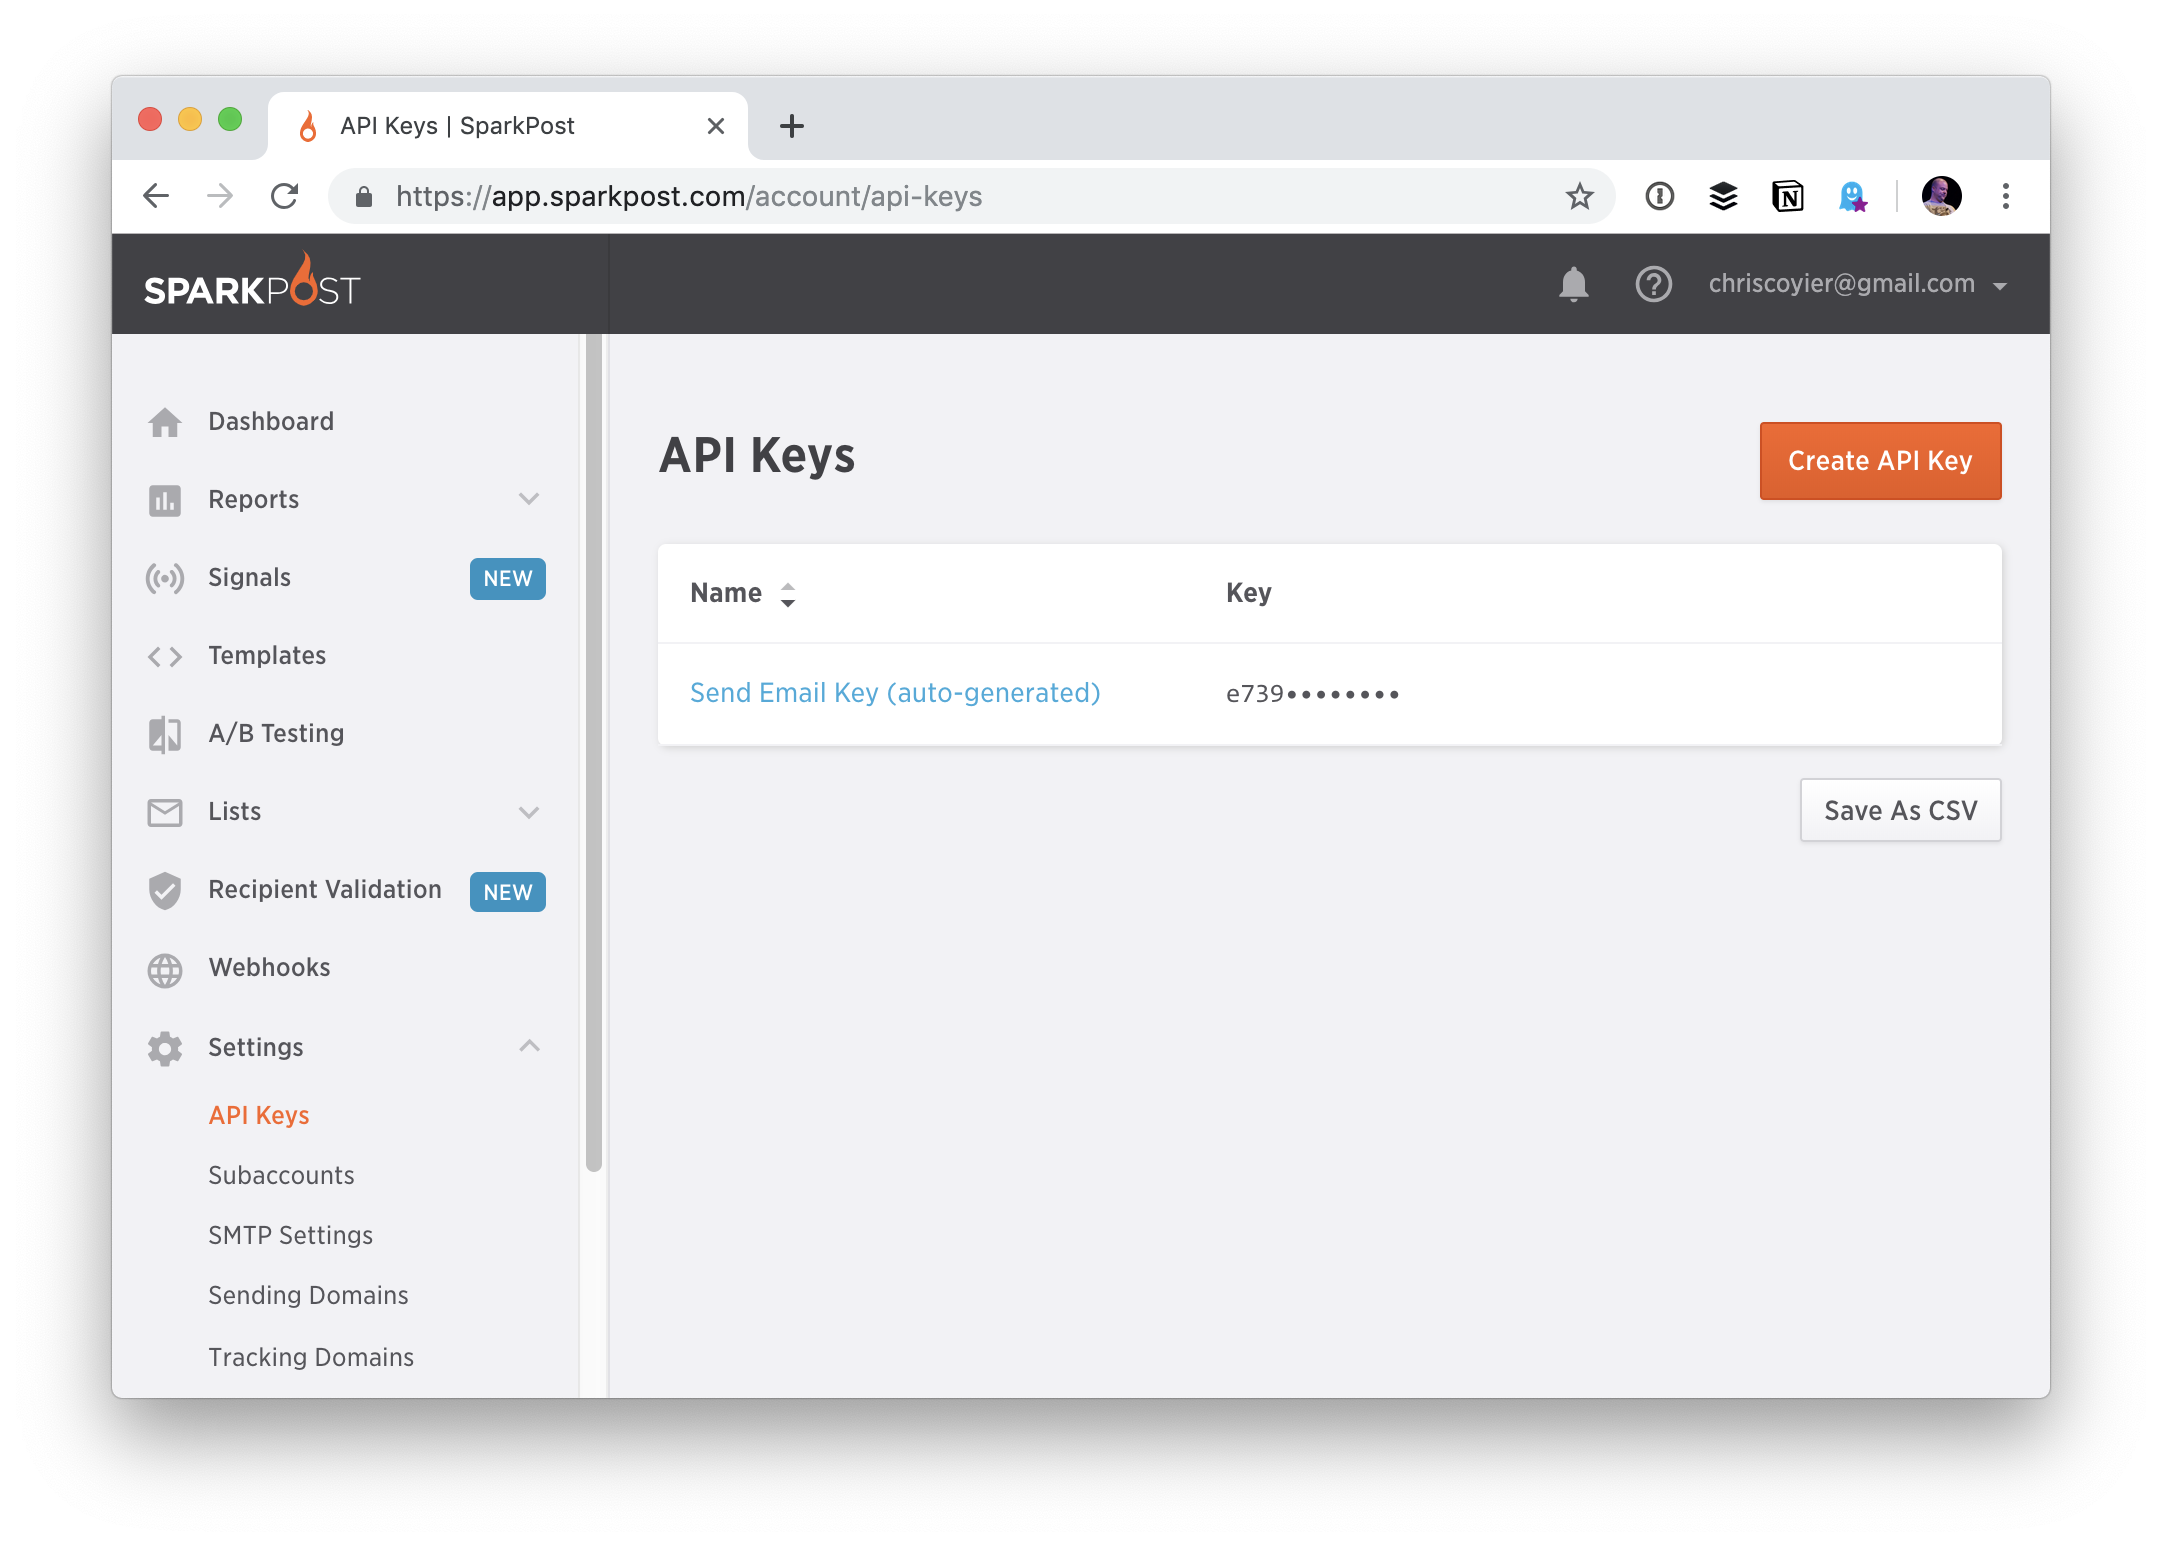
I signed up for Sparkpost and made sure my account was all set up and verified. The dashboard there will give you an API key:

Toss that API Key into Netlify
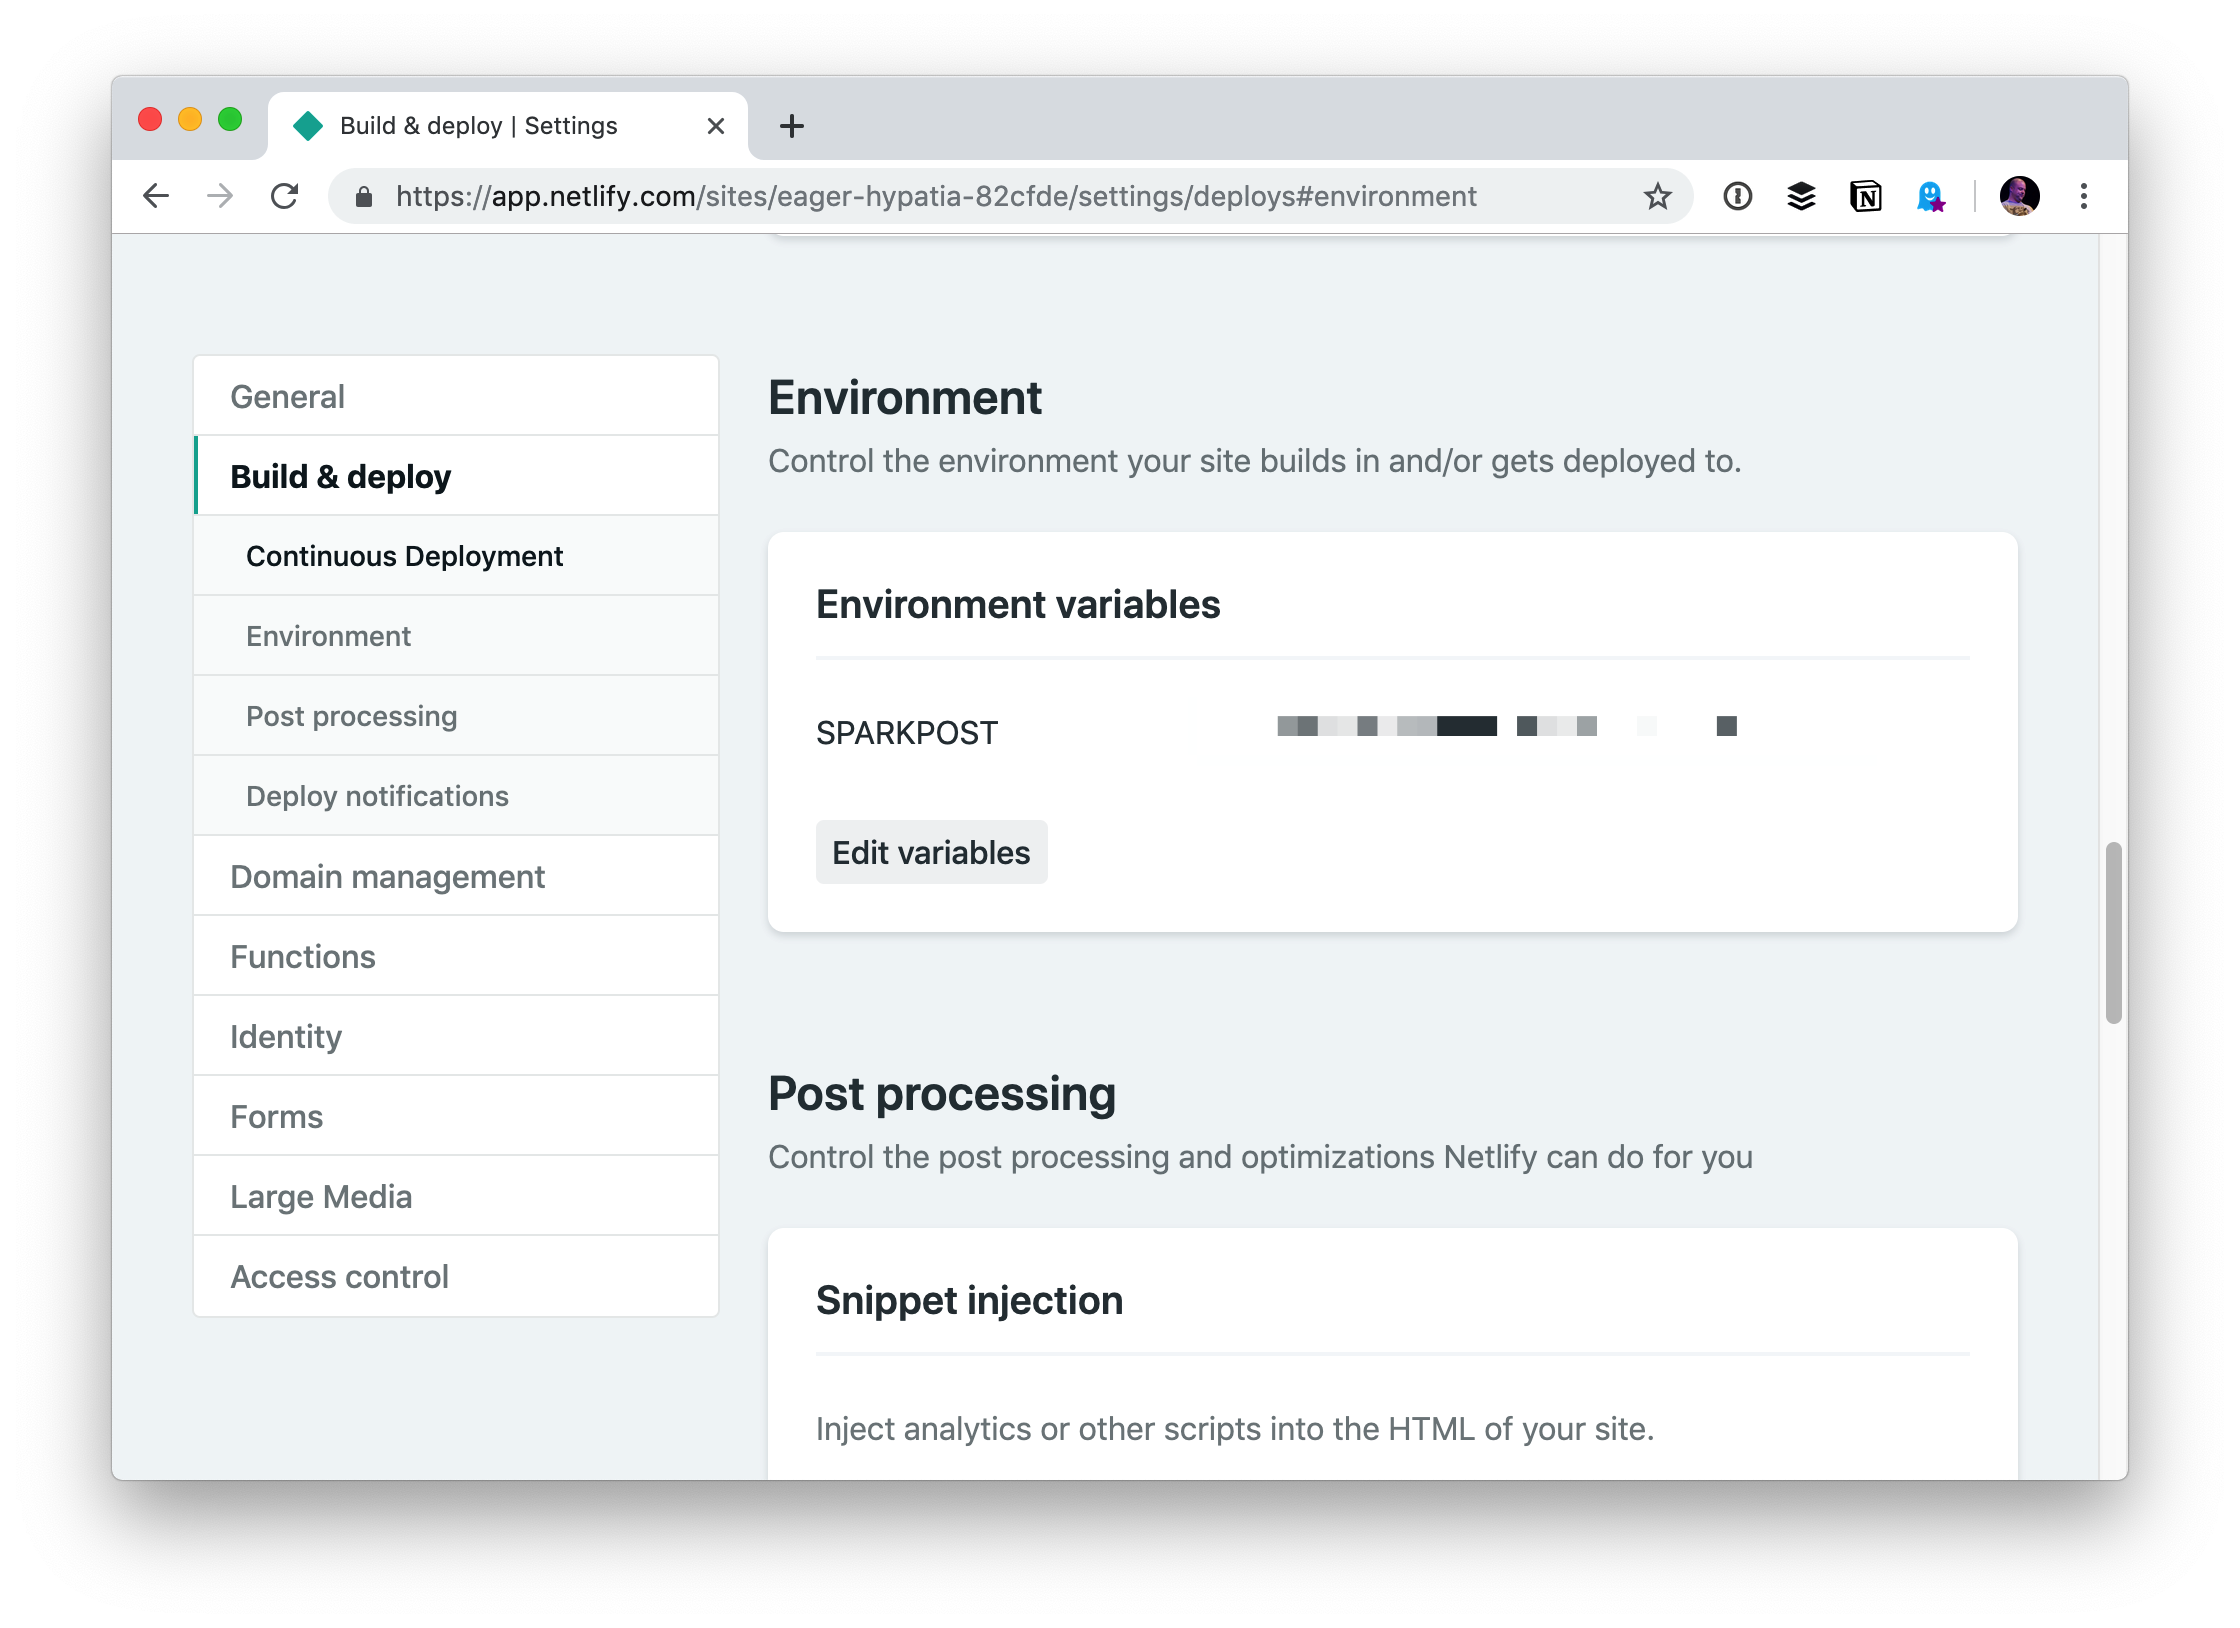
Part of protecting our API key is making sure it's only used in server-side code, but also that we keep it out of our Git repository. Netlify has environment variables that expose it to functions as needed, so we'll plop it there:

Let's spin up Netlify Dev, as that'll make this easy to work with
Netlify Dev is a magical little tool that does stuff like run our static site generator for us. For the site I'm working on, I use Eleventy and Netlify Dev auto-detects and auto-runs it, which is super neat. But more importantly, for us, it gives us a local URL that runs our functions for testing.
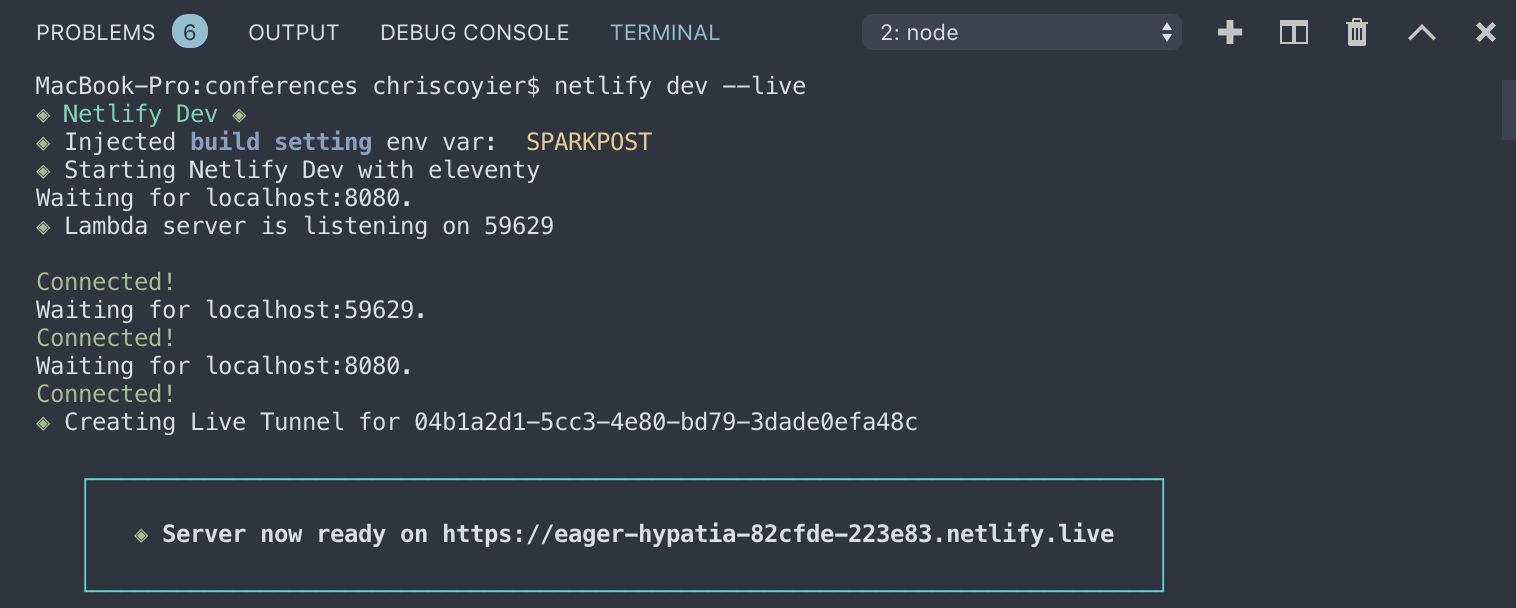
Once it's all installed, running it should look like this:

In the terminal screenshot above, it shows the website itself being spun up at localhost:8080, but it also says:
◈ Lambda server is listening on 59629That'll be very useful in a moment when we're writing and testing our new function — which, by the way, we can scaffold out if we'd like. For example:
netlify functions:create --name hello-worldFrom there, it will ask some questions and then make a function. Pretty useful to get started quickly. We'll cover writing that function in a moment, but first, let's use this...
Sparkpost has their own Node lib
Sparkpost has an API, of course, for sending these emails. We could look at those docs and learn how to hit their URL endpoints with the correct data.
But things get even easier with their Node.js bindings. Let's get this set up by creating all the folders and files we'll need:
/project
   ... your entire website or whatever ...
   /functions/
      /send-email/
         package.json
         send-email.js
All we need the package.json</code file for is to yank in the Sparkpost library, so <code>npm install sparkpost --save-dev will do the trick there.
Then the send-email.js imports that lib and uses it:
const SparkPost = require('sparkpost');
const client = new SparkPost(process.env.SPARKPOST);

exports.handler = function(event, context, callback) {
  client.transmissions
    .send({
      content: {
        from: 'chris@css-tricks.com',
        subject: 'Hello, World!',
        html:
          "<html><body><p>My cool email.</p></body></html>"
      },
    recipients: [{ address: 'chriscoyier@gmail.com' }]
  });
}
You'll want to look at their docs for error handling and whatnot. Again, we've just chosen Sparkpost out of a hat here. Any email sending service will have an API and helper code for popular languages.
Notice line 2! That's where we need the API key, and we don't need to hard-code it because Netlify Dev is so darn fancy that it will connect to Netlify and let us use the environment variable from there.
Test the function
When Netlify Dev is running, our Lamba functions have that special port they are running. We'll be able to have a URL like this to run the function:
http://localhost:34567/.netlify/functions/send-emailThis function is set up to run when it's hit, so we could simply visit that in a browser to run it.
Testing
Maybe you'll POST to this URL. Maybe you'll send the body of the email. Maybe you'll send the recipient's email address. It would be nice to have a testing environment for all of this.
Well, we can console.log() stuff and see it in the terminal, so that's always handy. Plus we can write our functions to return whatever, and we could look at those responses in some kind of API testing tool, like Postman or Insomnia.

It works!

I'll leave it to you to get fancy with it ;)
The post Netlify Functions for Sending Emails appeared first on CSS-Tricks.