Using GraphQL Playground with Gatsby
Publikováno: 18.7.2019
I’m assuming most of you have already heard about Gatsby, and at least loosely know that it’s basically a static site generator for React sites. It generally runs like this:
- Data Sources → Pull data from anywhere.
- Build → Generate your website with React and GraphQL.
- Deploy → Send the site to any static site host.
What this typically means is that you can get your data from any recognizable data source — CMS, markdown, file systems and … Read article
The post Using GraphQL Playground with Gatsby appeared first on CSS-Tricks.
I’m assuming most of you have already heard about Gatsby, and at least loosely know that it’s basically a static site generator for React sites. It generally runs like this:
- Data Sources → Pull data from anywhere.
- Build → Generate your website with React and GraphQL.
- Deploy → Send the site to any static site host.
What this typically means is that you can get your data from any recognizable data source — CMS, markdown, file systems and databases, to name a few — manage the data through GraphQL to build your website, and finally deploy your website to any static web host (such as Netlify or Zeit).
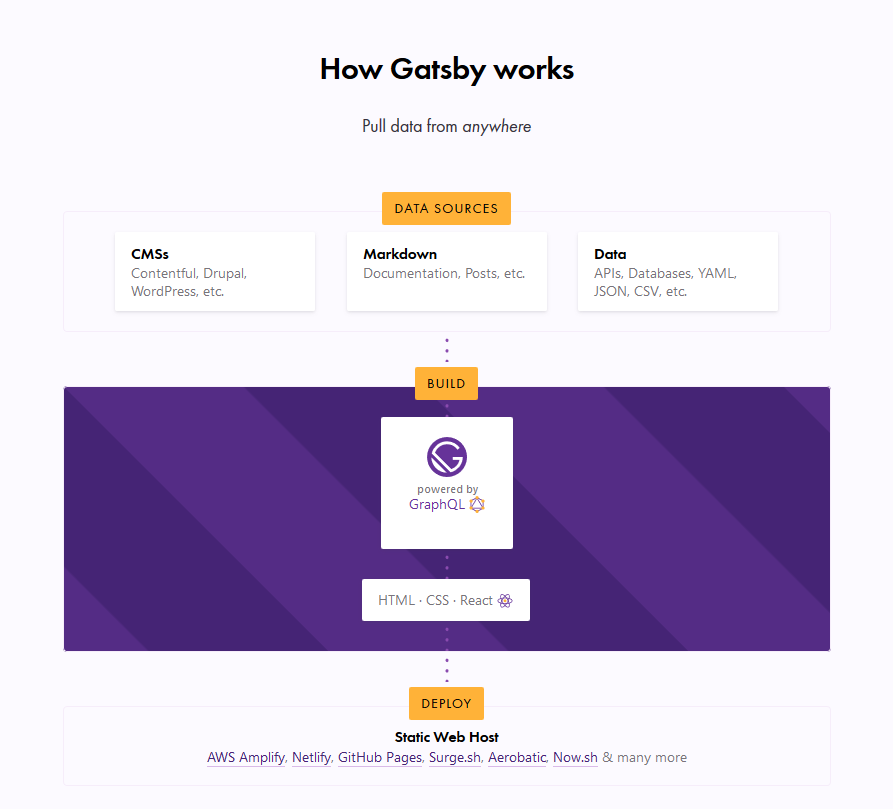
In this article, we are concerned with the build process, which is powered by GraphQL. This is the part where your data is managed. Unlike traditional REST APIs where you often need to send anonymous data to test your endpoints, GraphQL consolidates your APIs into a self-documenting IDE. Using this IDE, you can perform GraphQL operations such as queries, mutations, and subscriptions, as well as view your GraphQL schema, and documentation.
GraphQL has an IDE built right into it, but what if we want something a little more powerful? That’s where GraphQL Playground comes in and we’re going to walk through the steps to switch from the default over to GraphQL Playground so that it works with Gatsby.
GraphiQL and GraphQL Playground
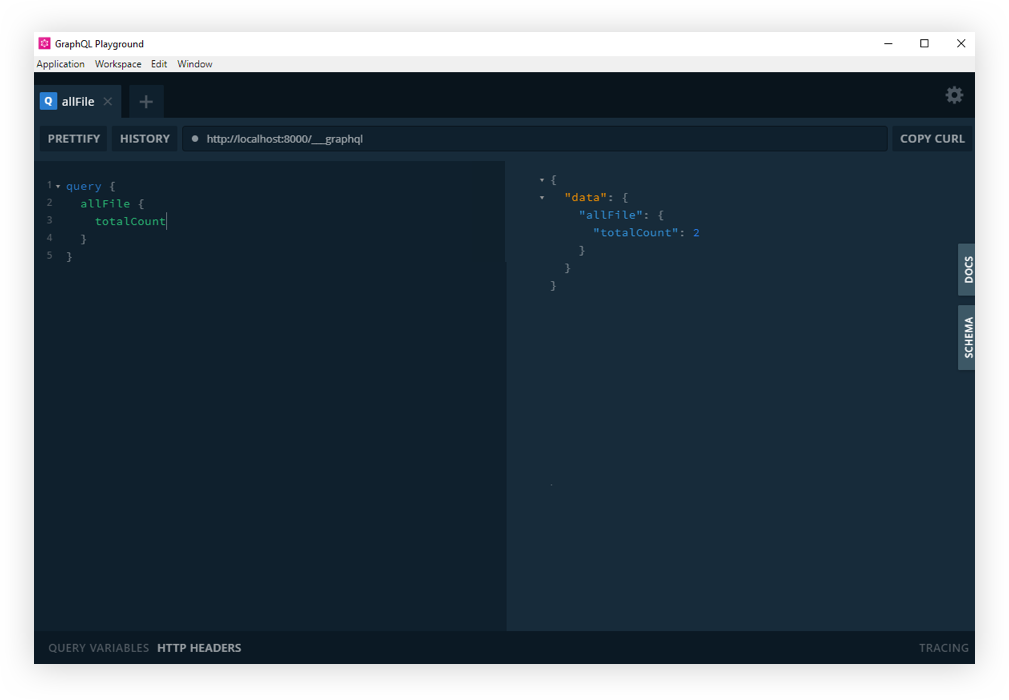
GraphiQL is GraphQL’s default IDE for exploring GraphQL operations, but you could switch to something else, like GraphQL Playground. Both have their advantages. For example, GraphQL Playground is essentially a wrapper over GraphiQL but includes additional features such as:
- Interactive, multi-column schema documentation
- Automatic schema reloading
- Support for GraphQL Subscriptions
- Query history
- Configuration of HTTP headers
- Tabs
- Extensibility (themes, etc.)
Choosing either GraphQL Playground or GraphiQL most likely depends on whether you need to use those additional features. There’s no strict rule that will make you write better GraphQL operations, or build a better website or app.
This post isn't meant to sway you toward one versus the other. We're looking at GraphQL Playground in this post specifically because it’s not the default IDE and there may be use cases where you need the additional features it provides and needs to set things up to work with Gatsby. So, let’s dig in and set up a new Gatsby project from scratch. We’ll integrate GraphQL Playground and configure it for the project.
Setting up a Gatsby Project
To set up a new Gatsby project, we first need to install the gatsby-cli. This will give us Gatsby-specific commands we can use in the Terminal.
npm install -g gatsby-cliNow, let’s set up a new site. I’ve decided to call this example "gatsby-playground" but you can name it whatever you’d like.
gatsby new gatsby-playgroundLet’s navigate to the directory where it was installed.
cd gatsby-playgroundAnd, finally, flip on our development server.
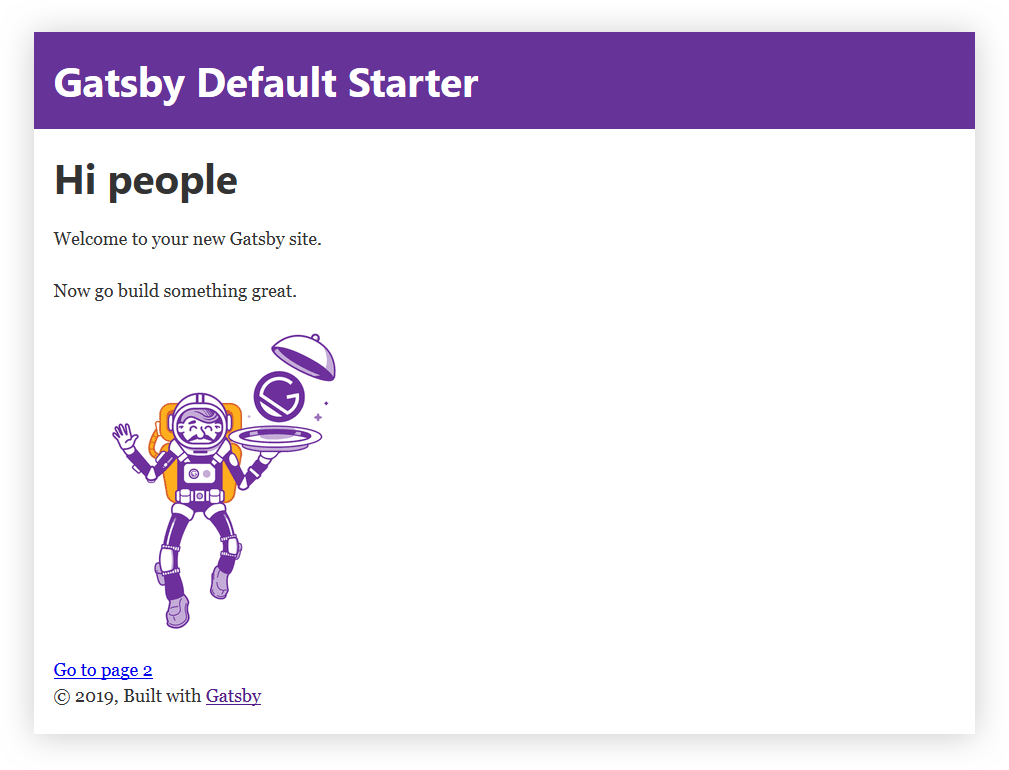
gatsby developHead over to http://localhost:8000 in the browser for the opening page of the project. Your Gatsby GraphQL operations are going to be located at http://localhost:8000/___graphql.
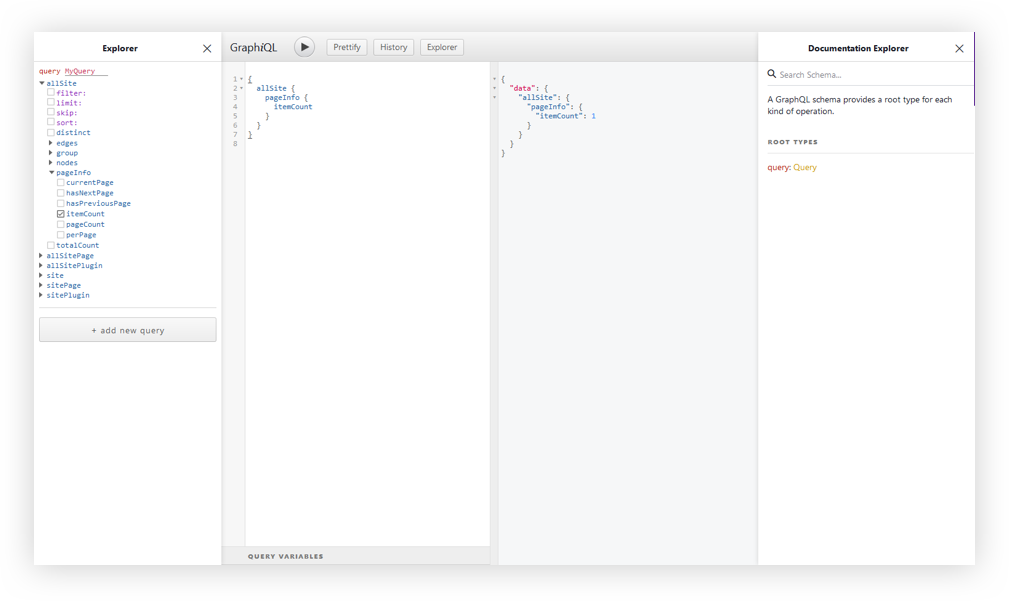
At this point, I think it’s worth calling out that there is a desktop app for GraphQL Playground. You could just access your Gatsby GraphQL operations with the URL Endpoint localhost:8000/___graphql without going any further with this article. But, we want to get our hands dirty and have some fun under the hood!
Gatsby’s Environmental Variables
Still around? Cool. Moving on.
Since we’re not going to be relying on the desktop app, we’ll need to do a little bit of Environmental Variable setup.
Environmental Variables are variables used specifically to customize the behavior of a website in different environments. These environments could be when the website is in active development, or perhaps when it is live in production and available for the world to see. We can have as many environments as we want, and define different Environmental Variables for each of the environments.
Learn more about Environmental Variables in Gatsby.
Gatsby supports two environments: development and production. To set a development environmental variable, we need to have a .env.development file at the root of the project. Same sort of deal for production, but it’s .env.production.
To swap out both environments, we’ll need to set an environment variable in a cross-platform compatible way. Let’s create a .env.development file at the root of the project. Here, we set a key/value pair for our variables. The key will be GATSBY_GRAPHQL_IDE, and the value will be playground, like so:
GATSBY_GRAPHQL_IDE=playgroundAccessing Environment Variables in JavaScript
In Gatsby, our Environmental Variables are only available at build time, or when Node.JS is running (what we’ll call run time). Since the variables are loaded client-side at build time, we need to use them dynamically at run time. It is important that we restart our server or rebuild our website every time we modify any of these variables.
To load our environmental variables into our project, we need to install a package:
yarn add env-cmd --dev // npm install --save-dev env-cmdWith that, we will change the develop script in package.json as the final step, to this instead:
"develop": "env-cmd --file .env.development --fallback gatsby develop"The develop script instructs the
env-cmdpackage to load environmental variables from a custom environmental variable file (.env.development in this case), and if it can’t find it, fallback to.env(if you have one, so if you see the need to, create a.envfile at the root of your project with the same content as.env.development).
And that’s it! But, hey, remember to restart the server since we change the variable.
yarn start // npm run developIf you refresh the http://localhost:8000/___graphql in the browser, you should now see GraphQL playground. Cool? Cool!
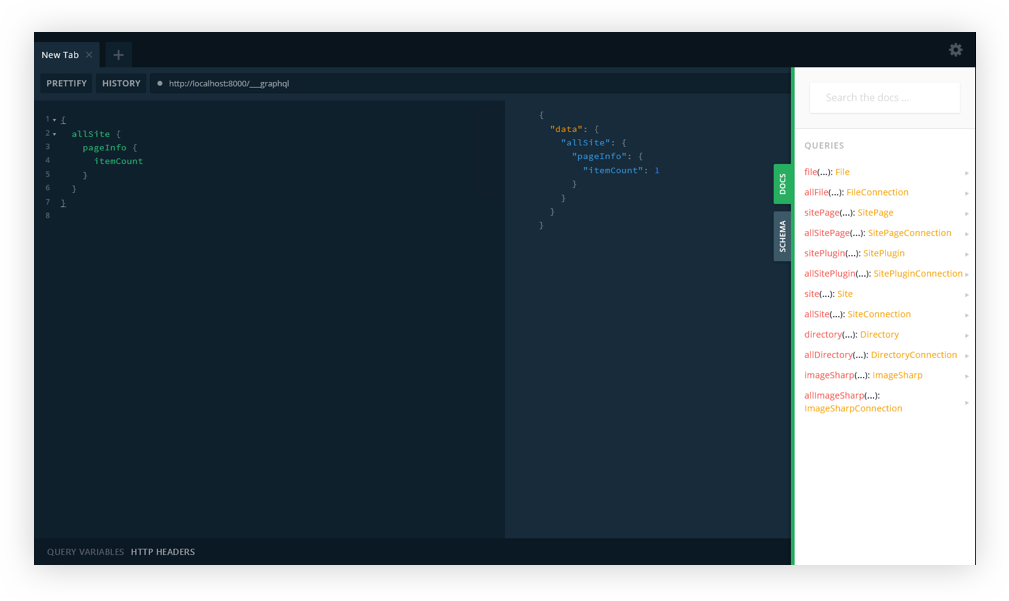
And that’s how we get GraphQL Playground to work with Gatsby!
So that’s how we get from GraphQL’s default GraphiQL IDE to GraphQL Playground. Like we covered earlier, the decision of whether or not to make the switch at all comes down to whether the additional features offered in GraphQL Playground are required for your project. Again, we’re basically working with a GraphiQL wrapper that piles on more features.
Resources
Here are some additional articles around the web to get you started with Gatsby and more familiar with GraphiQL, GraphQL Playground, and Environment Variables.
- Gatsby JS - The Great Gatsby Bootcamp
- Awesome Gatsby Resources
- Introducing GraphiQL
- Environmental Variables in GraphQL
- Using GraphQL Playground with Gatsby
- env-cmd
The post Using GraphQL Playground with Gatsby appeared first on CSS-Tricks.